

 Floor Painting
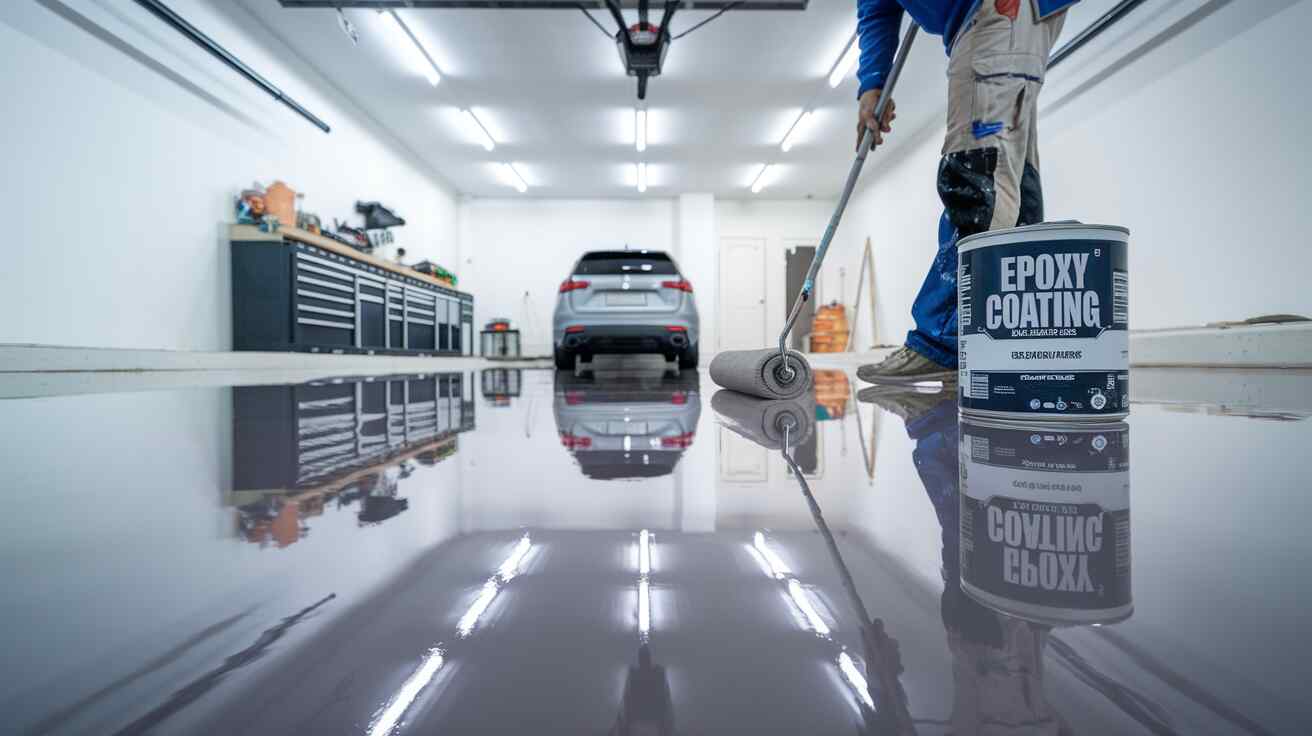
Process of Applying Epoxy Coatings is essential for a long-lasting and visually appealing garage floor. The proper coating ensures durability and a polished finish. Epoxy provides a strong, resilient solution that enhances both appearance and protection. This guide walks you through the application procedure step by step. If you prefer a more professional touch, check out our floor painting services for expert assistance in achieving a flawless and polished look.
Understanding Epoxy Coatings
Epoxy is a mixture of hardener and resin. When properly applied, it produces a hard, shiny surface. It is perfect for garage flooring since it is resistant to wear, chemicals, and stains.
Benefits of Epoxy Coatings
- Durability – Both foot activity and large cars can be managed by glue.
- Chemical resistance – It offers fight against cleaning agents, oil, and gasoline.
- Moisture resistance – stops the growth of mould and water damage.
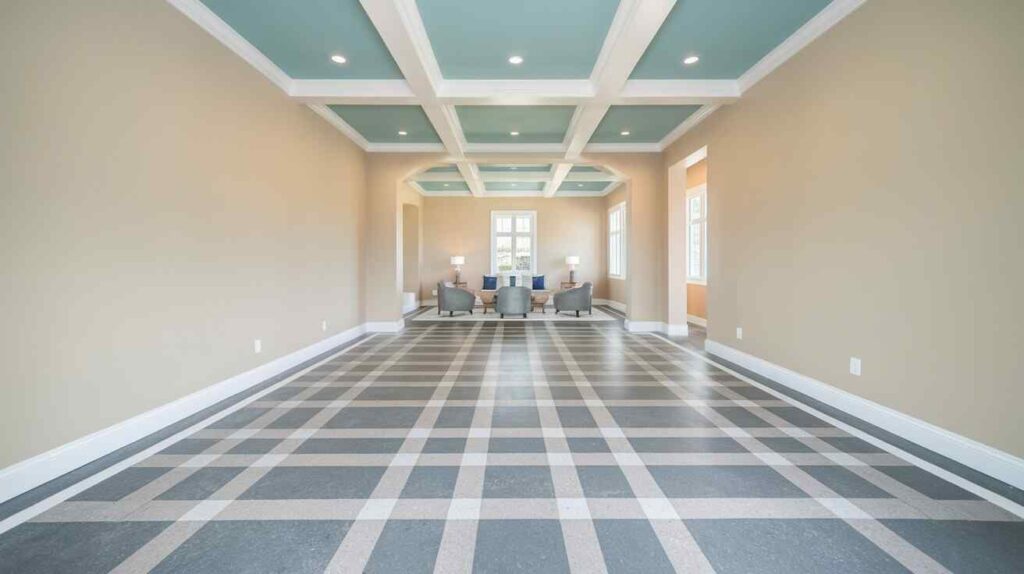
- Enhanced aesthetics – comes in a range of finishes and colours.
- Easy maintenance – Requires minimal cleaning and upkeep.
The Process of Applying Epoxy Coatings for Garage Floors
Step 1: Preparing the Garage Floor
The secret to a perfect epoxy finish is preparation. Proper adhesion is ensured by a surface that is rough, dry, and clean.
- Clear the area – Take everything out of the garage.
- Clean thoroughly – To get rid of oil and dirt, sweep and clean the floor.
- Repair cracks – Apply an epoxy patching compound to any holes or cracks.
- Etch the surface – Use an acid wash or mechanical grinder to create texture.
- Test for moisture – Overnight, lay a plastic sheet on the floor. If moisture shows up, more drying is needed.
- Let it dry – Ensure the floor is completely dry before applying epoxy.

Step 2: Choosing the Right Epoxy Type
Different epoxies suit different needs.
- Water-based epoxy – Easy to apply but less durable.
- Solvent-based epoxy – Stronger and more resistant but requires ventilation.
- 100% solid epoxy – The most durable option for high-traffic areas.
- Metallic epoxy – Provides a high-gloss, decorative finish.
- Self-dispersing epoxy – Ideal for industrial garages due to its high durability.

Step 3: Mixing the Epoxy
Mixing epoxy correctly is crucial.
- Follow manufacturer instructions for the correct ratio.
- Stir thoroughly to blend resin and hardener.
- Use immediately after mixing, as epoxy starts curing fast.
- Let the mixture sit for a few minutes to release air bubbles.
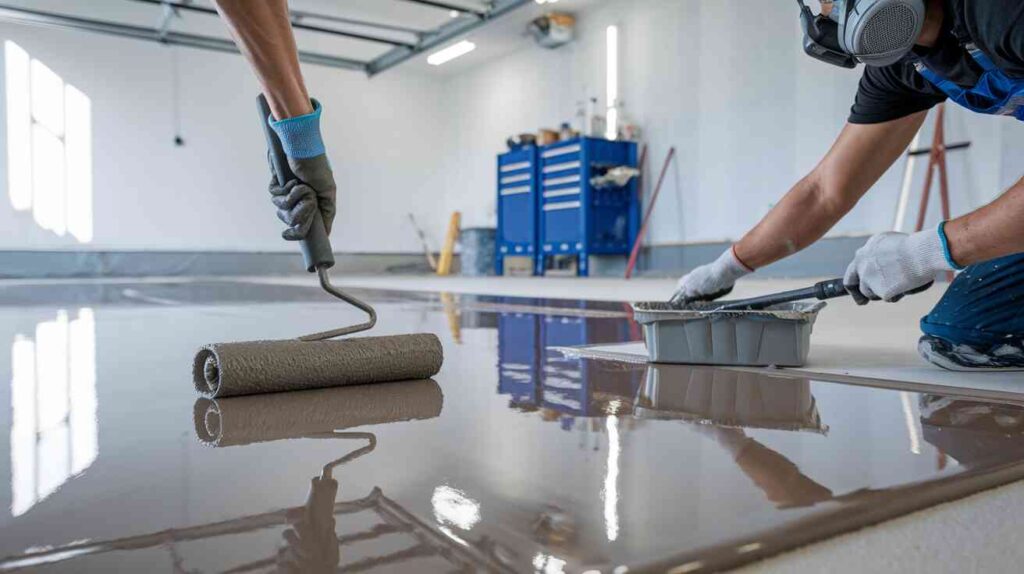
Step 4: Applying the First Coat
A smooth, even application ensures the best results.
- Use a roller with an extension handle for easy application.
- Work in sections to maintain control.
- Apply in thin, even layers.
- Use a brush for edges and tight spaces.
- Ensure proper ventilation to allow fumes to dissipate.
Step 5: Adding Decorative Flakes (Optional)
For a textured look, decorative flakes enhance appearance and slip resistance.
- Sprinkle flakes while the first coat is still wet.
- Distribute them evenly to avoid clumps.
- Allow the coat to dry before moving to the next step.
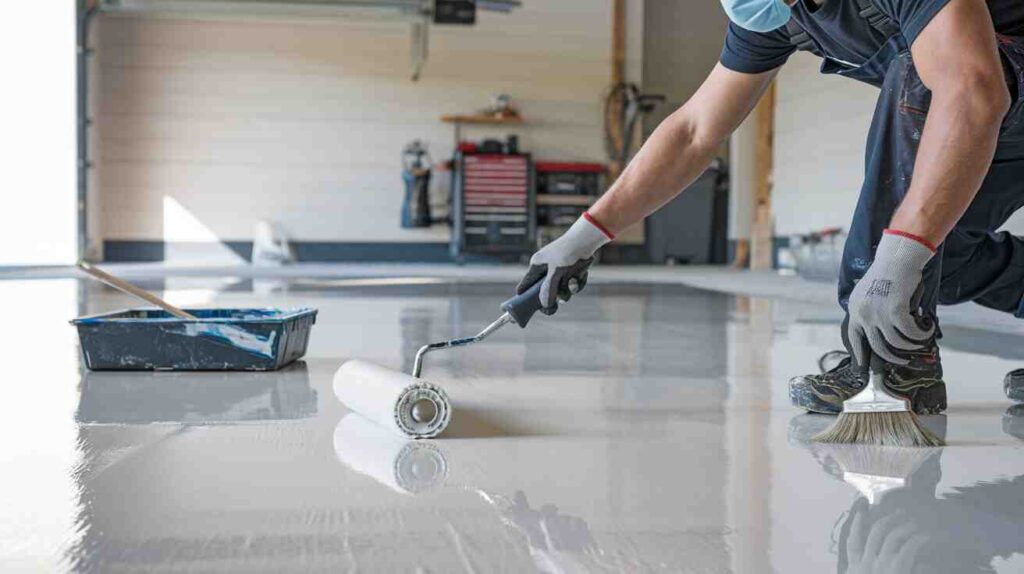
Step 6: Applying the Second Coat
A second coat strengthens the finish.
- Ensure the first coat is dry before reapplying.
- Follow the same rolling method as before.
- Work systematically for a uniform finish.
- Check for any uneven areas and correct them immediately.
Step 7: Sealing with a Topcoat
A protective topcoat extends the floor’s lifespan.
- Use a clear epoxy or polyurethane sealer.
- Roll it on evenly for extra durability.
- Let it cure completely before walking or driving on the surface.
- For high-traffic areas, apply an extra layer of sealant.
Step 8: Curing and Maintenance
Proper curing ensures long-lasting results.
- Avoid foot traffic for 24 hours.
- Keep vehicles off for at least 72 hours.
- Clean spills immediately to prevent damage.
- Sweep and mop regularly to maintain a fresh look.
- Avoid dragging heavy objects to prevent scratches.
Common Epoxy Application Mistakes to Avoid
- Skipping surface preparation – Leads to peeling and poor adhesion.
- Improper mixing – Causes weak, uneven coatings.
- Applying too thickly – Results in bubbling and cracking.
- Ignoring drying time – Leads to incomplete curing and weak surfaces.
- Skipping ventilation – Can lead to strong odors and health hazards.
When to Hire a Professional?
Epoxy floor application requires skill and precision. If you want a seamless finish, our floor painting services offer expert solutions. We ensure a durable, professional-grade result.
How Epoxy Floors Fit into a Full Painting Service
Process of Applying Epoxy Coatings is an essential part of a complete painting service. From villa painting services to wall painting solutions, Process of Applying Epoxy Coatings ensures durability and enhances the overall appearance. A properly painted and sealed floor not only adds to the aesthetic appeal but also complements interior and exterior finishes, providing a long-lasting and professional look.
Enhancing Your Garage with Additional Upgrades
- Wall painting – A fresh coat of paint enhances the entire space.
- Cabinet installation – Maximizes storage and organization.
- Lighting upgrades – Improves visibility and aesthetics.
- Rubber floor mats – Adds extra protection and comfort.
Conclusion
Applying epoxy to a garage floor enhances durability and appearance. With proper preparation and technique, DIY applications can work. However, the Process of Applying Epoxy Coatings requires precision to achieve the best results. Professional services follow the Process of Applying Epoxy Coatings correctly, ensuring a flawless and long-lasting finish. For expert assistance, explore our floor painting services today.